Film Production: Real‑World Tips for Getting Your Movie Made
If you’ve ever wondered how a Hollywood‑style film gets from idea to screen, you’re not alone. The process can seem huge, but breaking it down into bite‑size steps makes it doable. Below are the core things you need to know, whether you’re shooting a short with friends or a full‑blown indie feature.
Plan Like a Pro, Even on a Shoestring
Start with a solid script. A good script saves you hours of wasted time on set. Write it in clear, simple language and keep scenes short—each should have a purpose. Once the script is locked, create a shot list. List every angle, camera move, and prop you’ll need. This list becomes your day‑to‑day roadmap and prevents last‑minute scrambles.
Next, scout locations early. Walk the space with a camera or even a phone to see lighting challenges. If you can’t control the light, plan for reflectors, cheap LED panels, or shoot during the golden hour. Location scouting also helps you estimate travel time, which feeds into your call sheet.
Budget isn’t just money; it’s time too. Allocate a set amount of hours per scene and stick to it. Use a spreadsheet to track every expense—from coffee for the crew to rental gear. When you see a line item blowing up, ask yourself if it truly adds value.
Smart Shooting Strategies
On set, keep the crew small and focused. A tight team means less coordination hassle and quicker setups. Use a single camera with multiple lenses instead of swapping gear between takes. A 24‑mm lens can handle wide shots, while a 50‑mm covers close‑ups—save time and rental costs.
Sound is often the difference between a professional‑grade film and an amateur one. Invest in a decent shotgun mic and record a separate audio track. Even a $100 mic can capture clean dialogue if you place it close to the talent and monitor levels constantly.
Don’t chase perfection on every take. Capture a few solid runs, then move on. You can always fix minor framing or exposure issues in post‑production. The key is to keep the energy high; tired actors and crew produce flat performances.
Post‑Production: Turn Footage Into a Finished Film
When you get the raw files, label them immediately—scene, take, and camera angle. Organized footage saves countless hours when you start editing. Import everything into a non‑linear editor like DaVinci Resolve, which offers a free version that’s more than enough for indie work.
First pass: rough cut. Trim away bad takes, line up the story, and add placeholder music. This is where you see if the narrative flows. If you spot pacing issues, note them for the next round. Don’t get stuck polishing effects yet; focus on the story.
Color grading can dramatically improve the look. Use basic contrast and saturation adjustments to give a consistent feel. If you have a limited budget, preset LUTs (lookup tables) are a quick way to add style without learning complex grading tools.
Sound mixing wraps it up. Balance dialogue, music, and effects so nothing drowns out the other. A simple compressor on dialogue can smooth out volume spikes. Export a high‑quality master and a compressed version for online sharing.
Finally, share your work. Upload to YouTube, Vimeo, or a film‑festival platform. Gather feedback, note what resonated, and apply those lessons to your next project. Film production is a learning loop—each project makes the next smoother.
Bottom line: good planning, simple gear, and organized post‑production let you make a polished film without blowing your budget. Grab a camera, write a story, and start shooting—your film is within reach.
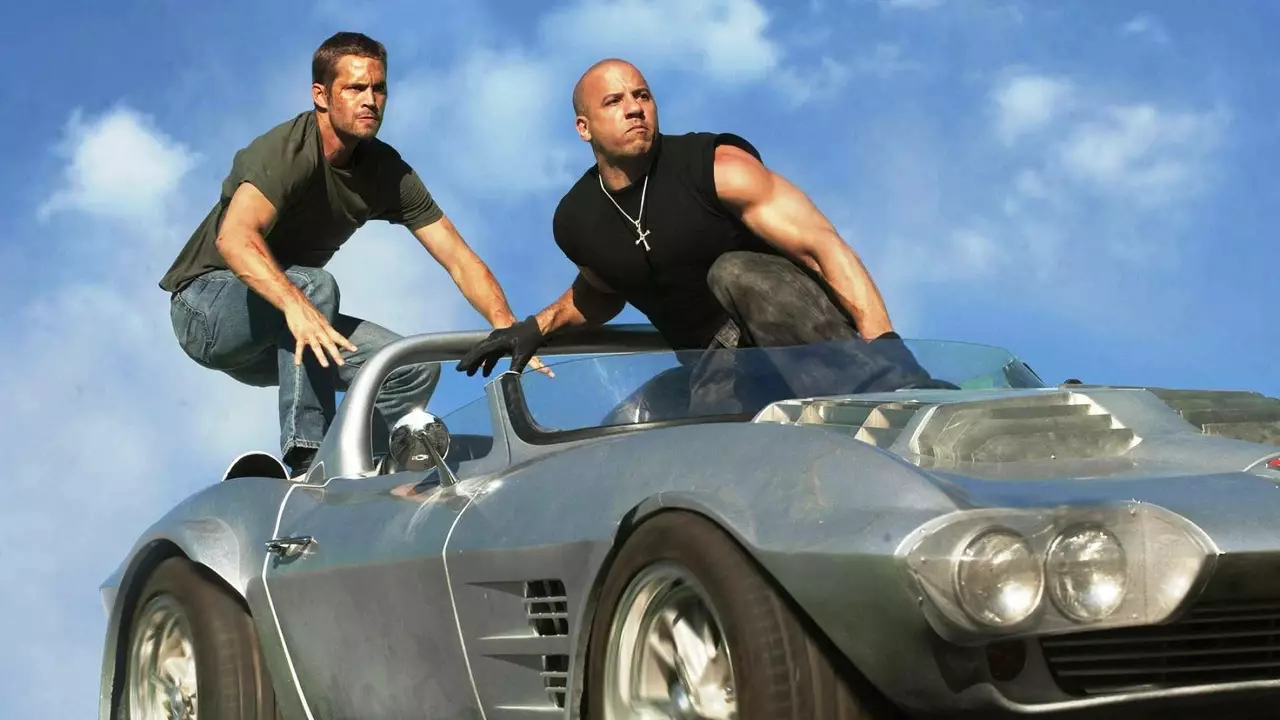
Do they wreck real cars in the movies?
Have you ever wondered if real cars get wrecked in movie scenes? Well, the answer is yes and no. In many cases, filmmakers use inexpensive or mock-up models that are designed for destruction. However, sometimes, especially for high-budget films, real cars are used and effectively destroyed during shooting. It all depends on the needs of the shot and the budget of the film.
